The Missing Semester of Your CS Education from MIT

MIT just introduced a new course called “The Missing Semester of Your CS Education“. All of the lectures are available on YouTube and course notes are available at their course website. This is going to be a great resource for Computer Science students, Programmers, and Makers all over the world.

Classes teach you all about advanced topics within CS, from operating systems to machine learning, but there’s one critical subject that’s rarely covered, and is instead left to students to figure out on their own: proficiency with their tools. We’ll teach you how to master the command-line, use a powerful text editor, use fancy features of version control systems, and much more!

The Missing Semester of Your CS Education

Ender 3 – 3D Printer & OctoPrint

Background

I recently purchased a Creality Ender 3 3D printer. I bought this for several reasons:

  1. It is very affordable at $229 on Amazon.
  2. It had a lot of good reviews
  3. Is the Most Popular 3D Printer of Spring 2019
  4. There are lots of upgrades/mods for this printer
    1. 35 Must-Have Creality Ender 3 (Pro) Upgrades & Mods in 2019.

OctoPrint

My interest was peaked when I saw the Raspberry Pi upgrade option under the possible upgrades/mods you could do to the Ender 3.

Let’s face it, we can’t be around to supervise our 3D printer 100 percent of the time. That’s why OctoPrint has become the standard for makers who want to monitor and control their 3D printer remotely. To run this terrific web interface, you need to purchase a Raspberry Pi board.


OctoPrint will allow you to control and observe your Creality Ender 3 from within a web browser. It’s 100 percent open source, which has led to a plethora of unique plugins created by the vast community. On the browser, you can watch prints through an embedded webcam feed, control print temperatures, obtain feedback on current print status, and even start and pause your printer no matter where you are.

35 Must-Have Creality Ender 3 (Pro) Upgrades & Mods in 2019.

I had an extra Raspberry Pi laying around and decided to give it a shot. The software that runs on the Pi is called OctoPrint. Installation and configuration is very straight forward and there are lots of help documents and tutorial videos. I am not going to get into any of the setup in this post, but below is the video that I found most helpful.

How to Install Octoprint on a Creality Ender 3

First Print with OctoPrint

I am currently using a simple USB webcam for the OctoPi. I want to upgrade it to use a mounted Raspberry Pi camera so that it follows the printer head. The video below is a time lapse that was captured using OctoPrint of the mount and case for the Pi camera being 3D printed.

Video 3D print of camera holder for Pi Camera and ender

Cloudflare DNS Propagation Issues

Background

I have been doing website migrations and have been updating the DNS entries of these websites to point at the new server’s IP addresses. I have been getting major propagation delays on my personal devices when checking the sites I have migrated. It took me a little while to realize that this was most likely a Cloudflare DNS issue. When I switched my personal devices DNS servers to Google’s (8.8.8.8) and they worked.

Google DNS was used to circumvent Turkey blocking Twitter, ultimately leading Turkey to block Google DNS in 2014.

I use Cloudflare DNS on all of my personal devices. I mainly do this for privacy and security reasons. They also have simple instructions to set it up on numerous devices.

  • iPhone
  • Android
  • MacOS
  • Windows
  • Linux
  • Router

Solution

After doing some googling, I stumbled across 1.1.1.1 Purge Cache. Everything worked as soon as I used this tool. It took me a while to find this tool as most of the results relate to propagation delays related to using CDN tool that Cloudflare provides.

Mount SFTP over SOCKS Proxy in OSX with Cyberduck

I can only access certain servers at work over SSH if I am using a machine with a certain static IP address. I wanted to be able to mount the servers file space using SFTP on a Macbook Air when I am either at home or at  a remote location. I investigated a lot of different ways to accomplish this with little success. After a lot of trial and error I was able to create a Socks proxy to my work machine using ssh and then mount the server file systems by using Cyberduck and enabling the use of the socks proxy.

Network Diagram
Network Diagram

First, I needed to create the socks proxy. In order to do this I had to SSH into my work machine and dynamical forward a port 8080. You may forward any port that is not being used greater than 1024. This will send any traffic on that port through the tunnel and out of the machine that you are connected to.

ssh [email protected] -D8080

After I have created the SSH connection with the dynamic port forwarding, I enabled the socks proxy in OSX Network Preferences -> Advanced -> Proxies. Check the “SOCKS Proxy” box. Then, set the “SOCKS Proxy Server” to 127.0.0.1:8080. Finally, add the IP or Domain of the machine that has the SSH connection to the “Bypass proxy settings for these Hosts & Domains” box.

OSX Socks proxy settings
OSX SOCKS Proxy Settings

Now enable the proxy in Cyberduck. Go to “Cyberduck” -> “System Preferences” -> “Connection” and check the box that says “Use system proxy settings”.

Cyberduck system preferences for proxies

Now every connection in Cyberduck will flow through your SOCKS proxy that you set up so you can mount the remote server file system over SFTP.

Using Twitter API with a Proxy in WordPress

1280px-Reverse_proxy_h2g2bob.svg

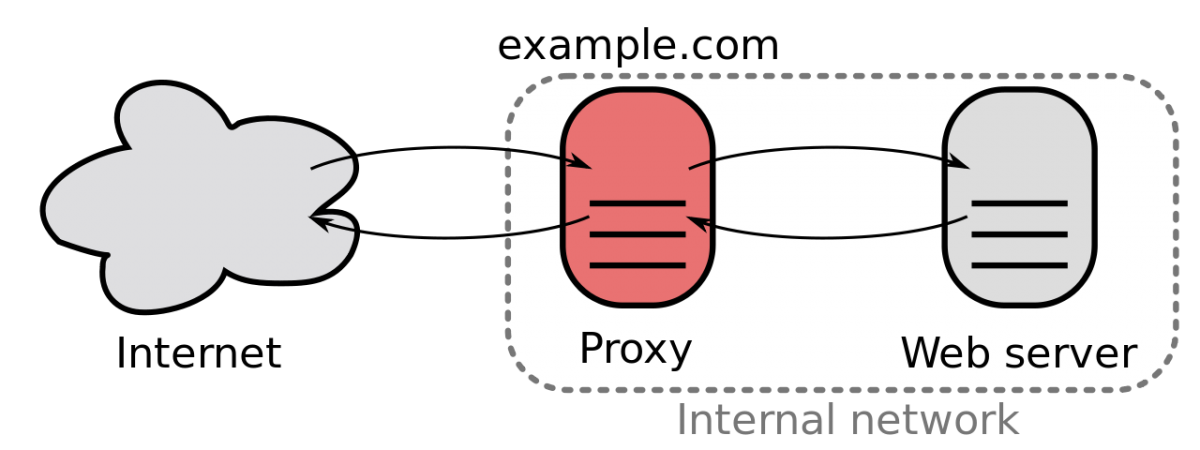
I was launching a new WordPress website at work that was developed by an outside agency. This site was using twitteroauth built into the theme to access the twitter API. Where I work all the web servers are behind a firewall with a strict whitelist for all incoming and outgoing connections besides the incoming HTTP and HTTPS requests. This makes it difficult to access the twitter API because it could be a different IP address every time. To solve this issues my work provides a proxy server to make requests out to. So my research began.

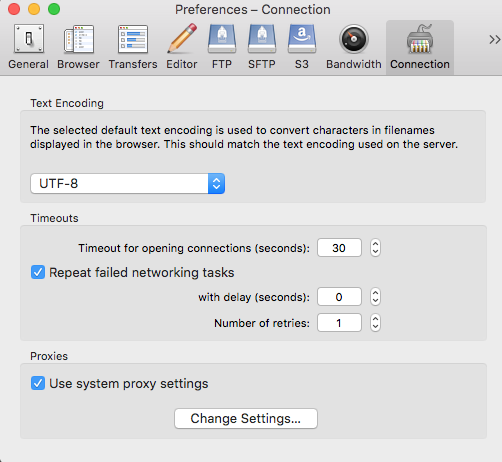
WordPress began to provide configuration settings in the wp-config.php file for them (http://wpengineer.com/1227/wordpress-proxysupport/):

define('WP_PROXY_HOST', '192.168.84.101');
define('WP_PROXY_PORT', '8080');
define('WP_PROXY_USERNAME', 'my_user_name');
define('WP_PROXY_PASSWORD', 'my_password');
define('WP_PROXY_BYPASS_HOSTS', 'localhost, www.example.com');

Unfortunately, the developers built the twitter api into their theme so I had to manually track down the API calls to modify them to use the WordPress configuration settings. In the twitteroauth.php file in the themes folder I was able to add three lines to the
curl_setopt parameters to function http (http://php.net/manual/en/function.curl-setopt.php):

curl_setopt($ci, CURLOPT_PROXY, '192.168.84.101');
curl_setopt($ci, CURLOPT_PROXYPORT, 8080);
curl_setopt($ci, CURLOPT_HTTPPROXYTUNNEL, 1);

Everything worked once I added those three lines.