This tutorial uses vi to edit files this can be replaced with nano or some other text editor.
Parts
Step 1: Connect the PiTFT to the Pi
You can connect the PiTFT before you start any of the other steps.
Step 2: Install and Configure OctoPrint
Follow the instructions form the OctoPrint website https://octoprint.org/download/
Step 3: Install Raspbian Desktop
sudo /home/pi/scripts/install-desktop

sudo reboot
Step 4: Install Dependencies
sudo apt-get install xinit
sudo apt-get install x11-xserver-utils
sudo apt-get install xserver-xorg-input-evdev
Step 5: Move 40-libinput.conf
sudo mv /usr/share/X11/xorg.conf.d/40-libinput.conf ~/
Step 6: Install PiTFT Drivers
Use the Easy Install method that Adafruit supplies
Adafruit
cd ~
wget https://raw.githubusercontent.com/adafruit/Raspberry-Pi-Installer-Scripts/master/adafruit-pitft.sh
chmod +x adafruit-pitft.sh
sudo ./adafruit-pitft.sh
- For the 3.5″ PiTFT select #4
- If you want the HDMI port on top like I do select #3
Would you like the console to appear on the PiTFT display?NoWould you like the HDMI display to mirror to the PiTFT display?Yes
Step 7: Uninstall Lightdm window manager
sudo dpkg -r --force-depends lightdm
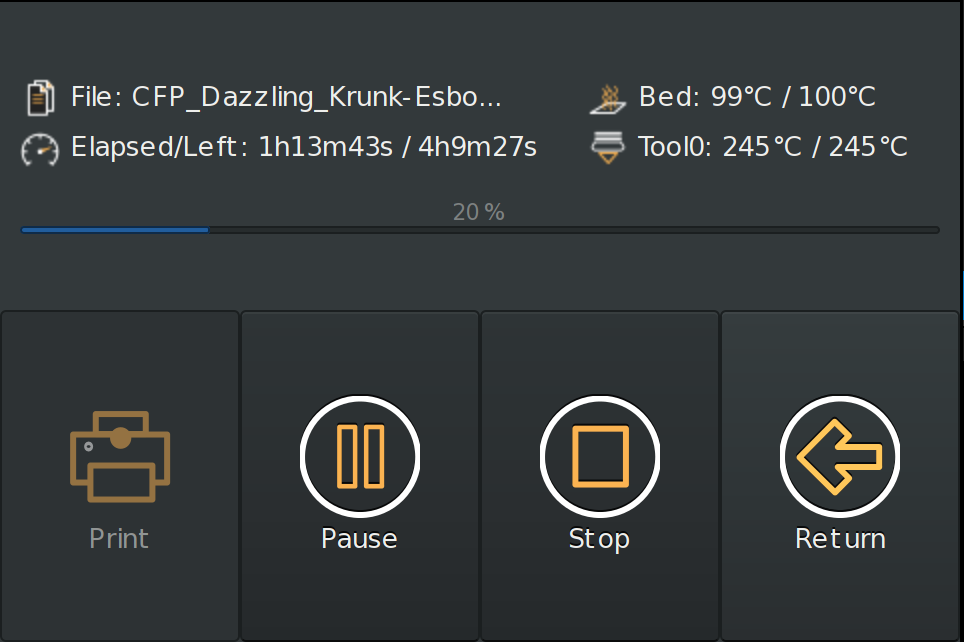
Step 8: Install OctoPi-TFT
cd ~
wget https://github.com/darksid3r/OctoPrint-TFT/releases/download/1.1/octoprint-tft_stretch_1.1.git91fa718-1_armhf.deb
sudo dpkg -i octoprint-tft_stretch_1.1.git91fa718-1_armhf.deb
Step 9: Edit OctoPi-TFT Configuration File
Edit you configuration file.
sudo vi /etc/octoprint-tft-environment
This is what mine looks like. You will need to change the OCTOPRINT_APIKEY to match yours. It can be found on the settings page in OctoPrint. I also removed the comments from here so it is easier to read.
 OCTOPRINT_CONFIG_FILE=

 OCTOPRINT_HOST=http://127.0.0.1:5000

 OCTOPRINT_APIKEY=YOUR_APIKEY_GOES_HERE

 OCTOPRINT_TFT_STYLE_PATH=/opt/octoprint-tft/styles/default/

 OCTOPRINT_TFT_RESOLUTION=480x320
Step 10: Reboot & Test
sudo reboot
Step 11: Check /boot/config.txt
You can disregard this step if everything is working as expected. My display resolution wasn’t correct so I had to change the last line of the /boot/config.txt file from hdmi_cvt=720 480 60 1 0 0 0 to hdmi_cvt=480 320 60 1 0 0 0.
sudo vi /boot/config.txt
sudo reboot
Resources
I used these resources to put together this tutorial.
- OctoPi Image and Installation Instructions
- Adafruit PiTFT Easy Install
- Adafruit PiTFT HELP! (FAQ) –My PiTFT’s rotation/calibration isn’t working in X11
- darksid3r/OctoPrint-TFTforked from mcuadros/OctoPrint-TFT
