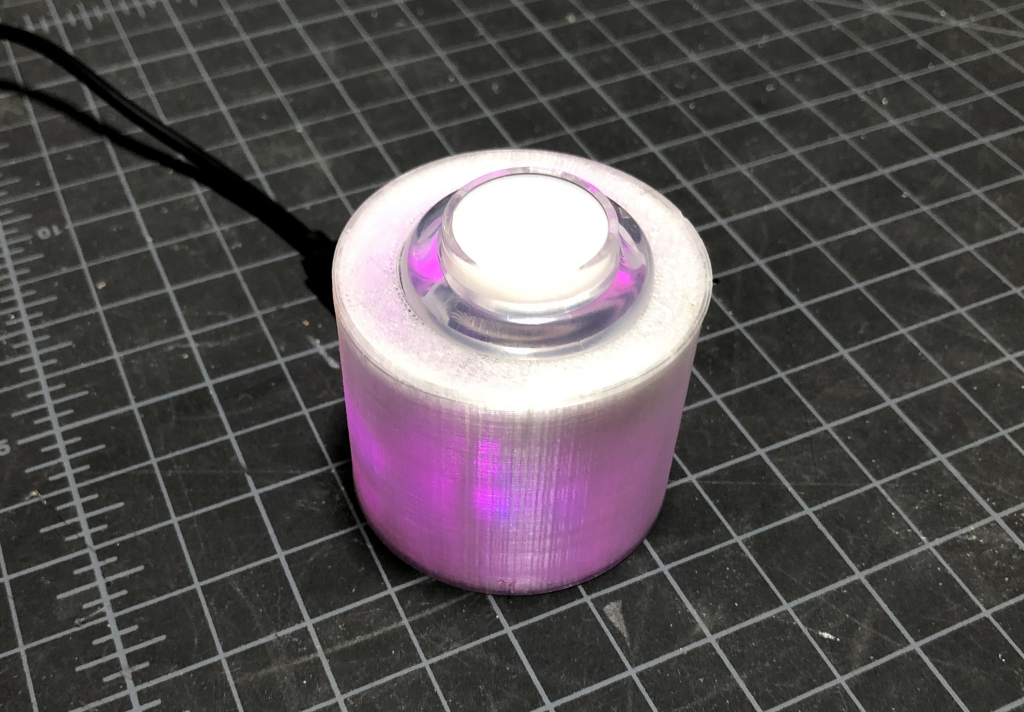
I wanted to create a simple project using Adafruit’s new QT Py microcontroller and CircuitPython. I decided to make a simple mute button for video conference tools since I spend a lot of my work hours in meetings using either Microsoft Teams or Zoom. There have been many of these made since the start of the pandemic, including the PyRuler version featured in an Adafruit learn guide, but I wanted to make a smaller single button version that could work with multiple applications.

Parts
- Adafruit QT Py – SAMD21 Dev Board with STEMMA QT or Seeeduino XIAO – Arduino Microcontroller – SAMD21 Cortex M0+
- Arcade Button with LED – 30mm Translucent Clear
3D Printed SnapFit Enclosure
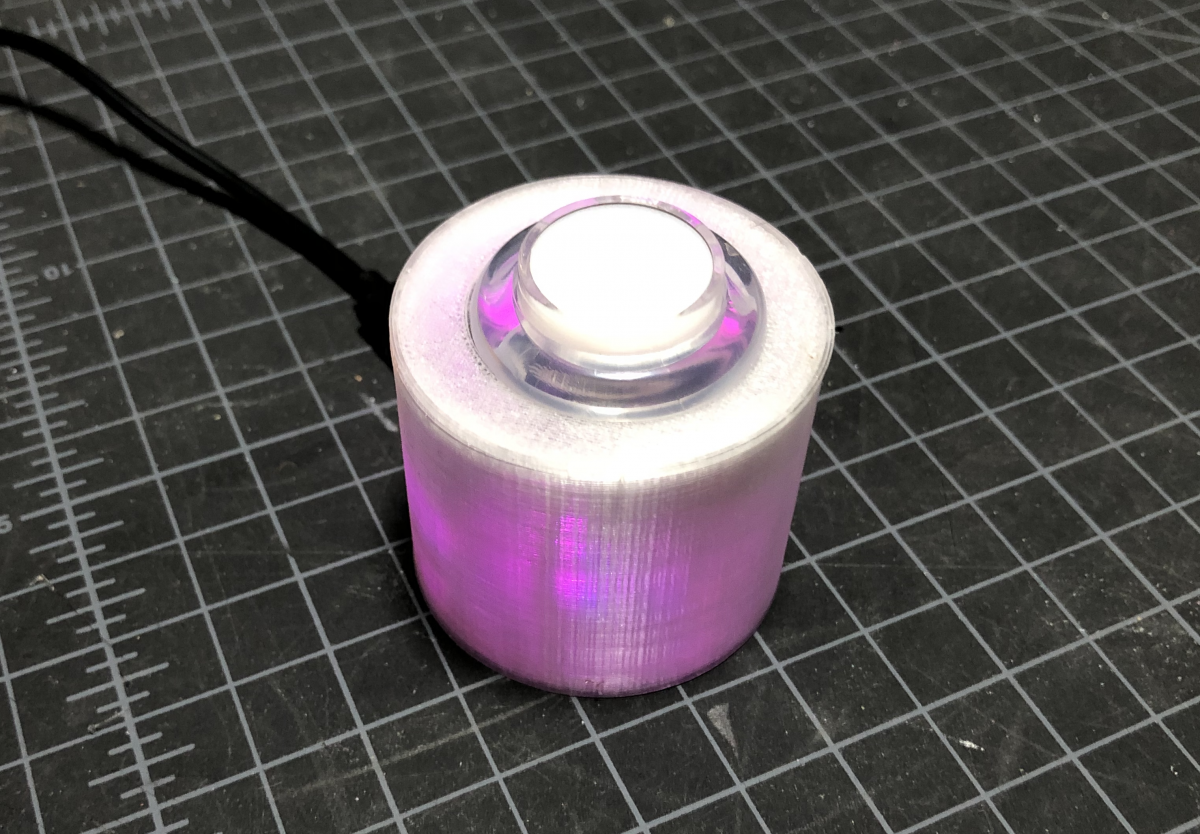
I followed Noé Ruiz (@ecken) Layer by Layer tutorial below to make a circular SnapFit case to hold my project (STL/Fusion360 Files). There are several things that could be improved in this design, but it is a start. The Fusion360 file has User Parameters if you want to change the diameter or the height of the enclosure. I printed my enclosure using semi transparent PETG to enable the user to easily see the color of the onboard neopixle. This is helpful for knowing what application/shortcut is active.
Wiring
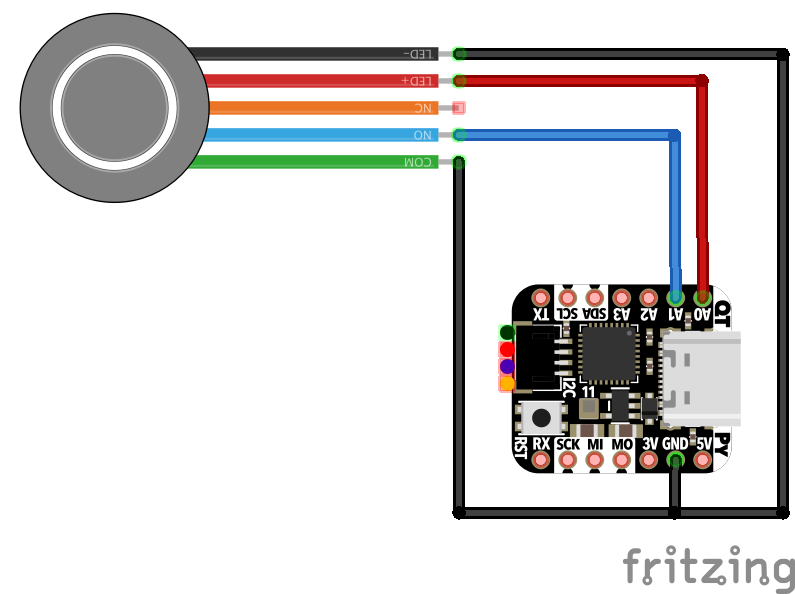
The fritzing schematic is below. Please note that the button I used didn’t have a NC connector, but I couldn’t find a similar part in the fritzing library.

Code
Below is the code for this project. Modify the controller_buttons variable to add or remove applications and shortcuts. The current code is made to work using Microsoft Teams and Zoom on a Mac. The keycode for each application/shortcut would need to be modified if you are using Windows or Linux. The color updates the neopixle on the QT Py to allow the user to know which application/shortcut is active. I used purple for Teams and blue for zoom.
Please see Adafruit’s Primary Guide for setting up the QT Py with CircuitPython. You will need to copy the following CircuitPython library files over to your QT Py as well.
- adafruit_hid/keyboard
- adafruit_hid/keyboard_layout_us
- adafruit_hid/keycode
- neopixel
The strip_xattr.sh script is very helpful if you run into problems copying the required library files over to the QT Py on a Mac. For more information about this issue see the Adafruit Forum post from user aaaidan.
Use
- Plug it into your computer.
- Press the button to activate the active application’s keyboard shortcut
- In order to change the keyboard shortcut that is active, hold down the button until the onboard neopixel changes colors
Please note that the led on the arcade button is currently set to toggle every time it is pressed. It is up to the user to manually sync it to there current application if they want to use it as an indicator if they are currently muted or not. Comment out the every line that has button_led if you want to use a button that doesn’t have an LED on it. Also, the Teams or Zoom windows has to be in focus for the button to work.
All code and 3D models are available via the Github Repository: https://github.com/jfurcean/CircuitPython-MuteButton
Special Note About Cura
I noticed that my QT Py was constantly resetting/not working while I was working on this project. It turns out that Cura was trying to “talk” to the QT Py and this was preventing it from working. Everything worked as expected once I closed Cura and reset the QT Py. I found this Github issue related to other CircuitPython boards that were having this same issue.
